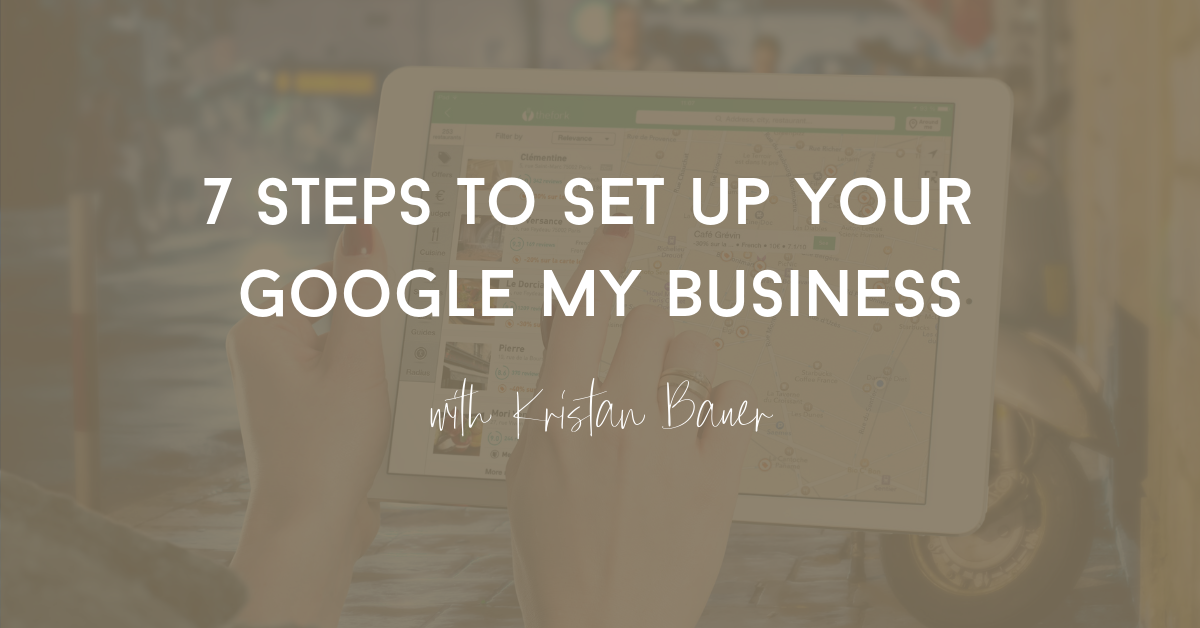
How to Set Up Google My Business (GMB)
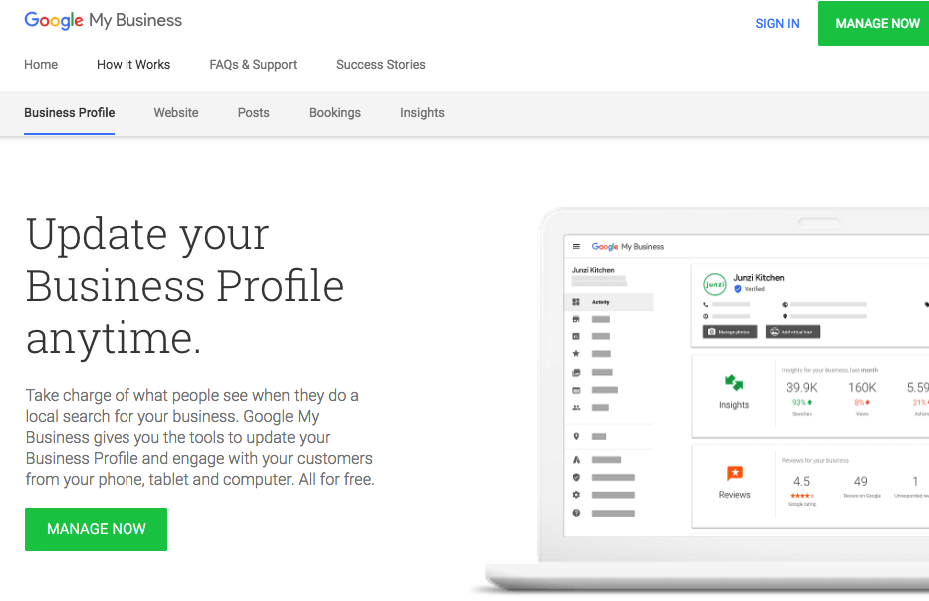
If you have a local business, setting up your Google My Business (GMB) account is one of the best things you can do for your local SEO. GMB is a free tool that allows you to take charge of what people see when they do a local search for your business.
Setting up your Google My Business (GMB) listing is one of the most important things you can do for your local business.
You might be wondering if you still need Google My Business if you already have a website. Yes! GMB complements your existing website. By setting up a GMB account, your business is eligible to appear in Google’s local map pack results and you can ensure customers have important, accurate information about your business.
Here’s a quick overview of key steps to take when setting up GMB:
- Add your business name and location.
- Add your phone number.
- Include a link to your website.
- Select relevant categories and subcategories.
- Add at least six photos of your business exterior and interior.
- Add correct business hours.
- Include other relevant business information, such as reservations and menus for restaurants.
- Respond to business reviews.
For a step-by-step guide to creating your Google My Business account, verifying your business, and making its listing as strong as possible, read on.
Step 1: Claim Your Google My Business Listing
Log into the Google Account you want to be associated with your business (or create a Google Account if you don’t already have one). Go to google.com/business and select “Manage Now” in the top right-hand corner.
Add your business name and location. If you don’t have a storefront, you can list your business information to appear on Google without an address by checking the “Hide my address (it’s not a store)” button.
Add your business phone number or website.
Step 2: Choose Your Business Categories
Pay attention to the categories and subcategories that you select in GMB. These categories communicate what your business does to users who may potentially be searching and should be as close as possible to your business function.
Categories are also relevant if you are trying to rank for keywords in the search engine Google. Choosing the right categories can positively influence your rank in Google Maps as well.
Step 3: Verify Your GMB Listing
Once you have submitted your business info, you’ll need to verify your listing. This is crucial for the visibility and performance of your business listing. Google won’t display your business or its edits until the business is verified.
There are several ways to verify your GMB listing:
- By postcard
- By phone
- By email
- Instant verification
- Bulk verification
It’s easiest to verify your listing by mail. Google will send you a verification code postcard. Once you receive it, you’ll verify your listing with the enclosed code and your business will officially be live. The process typically takes less than a week.
Step 4: Add Photos of Your Business
Your listing is a great place to showcase the photos that capture your business. Businesses with photos on their listings receive 42 percent more requests for driving directions on Google Maps and 35 percent more click-throughs to their websites than businesses that without photos, according to Google.
Draw in new customers with photos of your products, employees at work or favorite menu items. Add at least six photos of your business exterior and interior to make your listing more informative and engaging.
Step 5: Optimize Your Listing
Add as much information as you can to your listing, including the area you serve, your hours, attributes (e.g., “happy hour,” “good for kids”), reservation options, and menus for restaurants. Don’t leave anything to be guessed or assumed. This is an opportunity to communicate with potential customers about what your business does, where it is, and how they can acquire what you’re offering.
Just like traditional website SEO, Google uses a variety of signals to serve search results. Including important keywords and search phrases to your business listing will be incredibly helpful.
Step 6: Respond to Reviews
Not only does your GMB listing allow you to communicate with potential customers, but it also encourages them to leave feedback for your business. Interact with customers by responding to their reviews — positive and negative.
Responding to positive reviews shows you’re grateful for their support and might influence other customers to leave their own positive reviews. Responding to negative reviews illustrates that you value your customers and their feedback.
Step 7: Log Back in Frequently
Like all good marketing efforts, your GMB listing needs consistent management and maintenance
Keep in mind, anyone can “suggest an edit” to your listing, so it’s important to periodically log into your GMB dashboard and make sure all the details look right.
For more tips improving SEO for your local business, download my free 7-Step Local SEO Cheat Sheet to learn local SEO basics!
Kristan is an independent consultant with 15 years of experience in the SEO industry. Kristan previously founded the award-winning SEO agency Conifr. She’s worked in agency and in-house SEO leadership positions, most notably as the SEO Director at Zillow Group, overseeing a channel that received over one billion web visitors a year. Kristan is a freelance SEO consultant who built and sold a seven-figure agency and now enjoys helping others develop their freelance business.